The rule
When to float
Float when the recipe wants a distinct top layer — red wine on a New York Sour, a dark rum lid on some tiki builds, cream on a coffee drink. The point is the first nose and the changing sip, not stripes for Instagram alone.
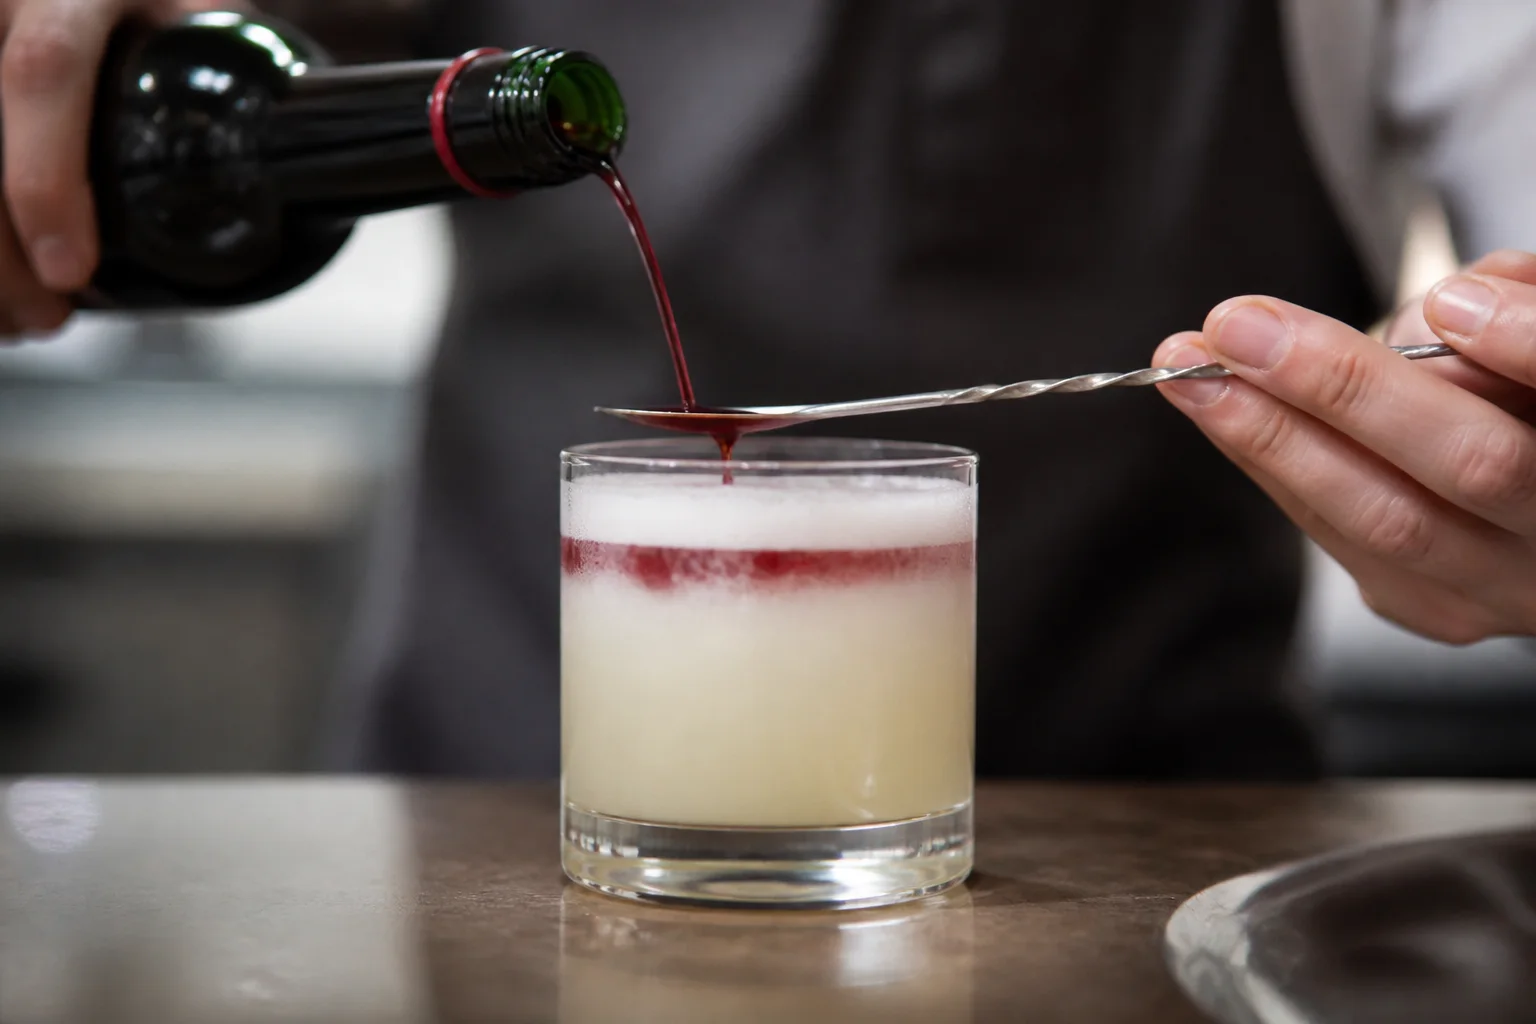
The big idea
A float is a slow pour over a spoon so a lighter liquid sits on top — staged sipping, not a fully mixed drink.
Keep these
Finish the base drink first; the float is last.
Rest a barspoon on the surface and pour onto the back of the spoon.
Patience beats volume — a fast pour punches through.
Wine on a sour and dark rum on tiki ice are the home uses that matter.
The rule
Float when the recipe wants a distinct top layer — red wine on a New York Sour, a dark rum lid on some tiki builds, cream on a coffee drink. The point is the first nose and the changing sip, not stripes for Instagram alone.
Base drink ready
Build or pour the main drink first — no ice shift after.
Spoon on the surface
Barspoon upside-down, touching the liquid.
Pour slowly onto spoon
Let the lighter layer spread without diving under.
Strain or build the base so the surface is calm. Hold a barspoon just on the liquid (or ice), bowl up or back-of-spoon facing you, and pour slowly onto the spoon so the liquid spreads.
Stop while the band is still distinct. A thicker float is easier to see and taste; a teaspoon of wine is not enough to read.
In the glass
Open a recipe, focus on this move once, then make it again next week.
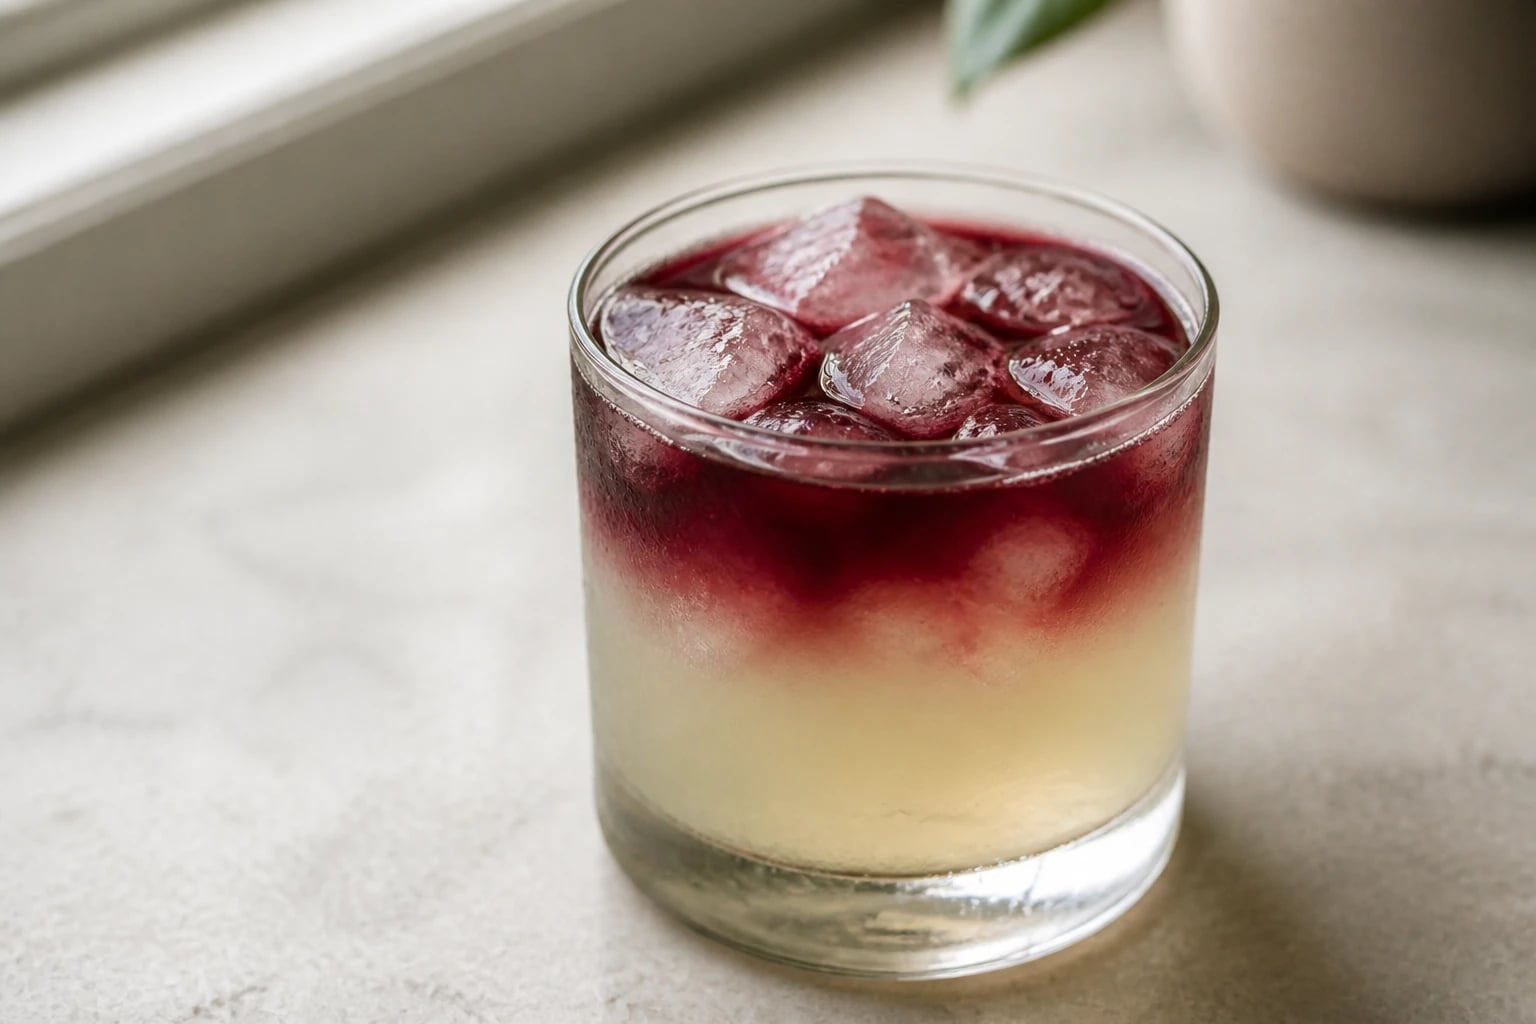
Whiskey
Shake the whiskey sour, strain, then float red wine over a spoon. First sips should alternate bright citrus and tannic fruit — not a purple mixed drink.
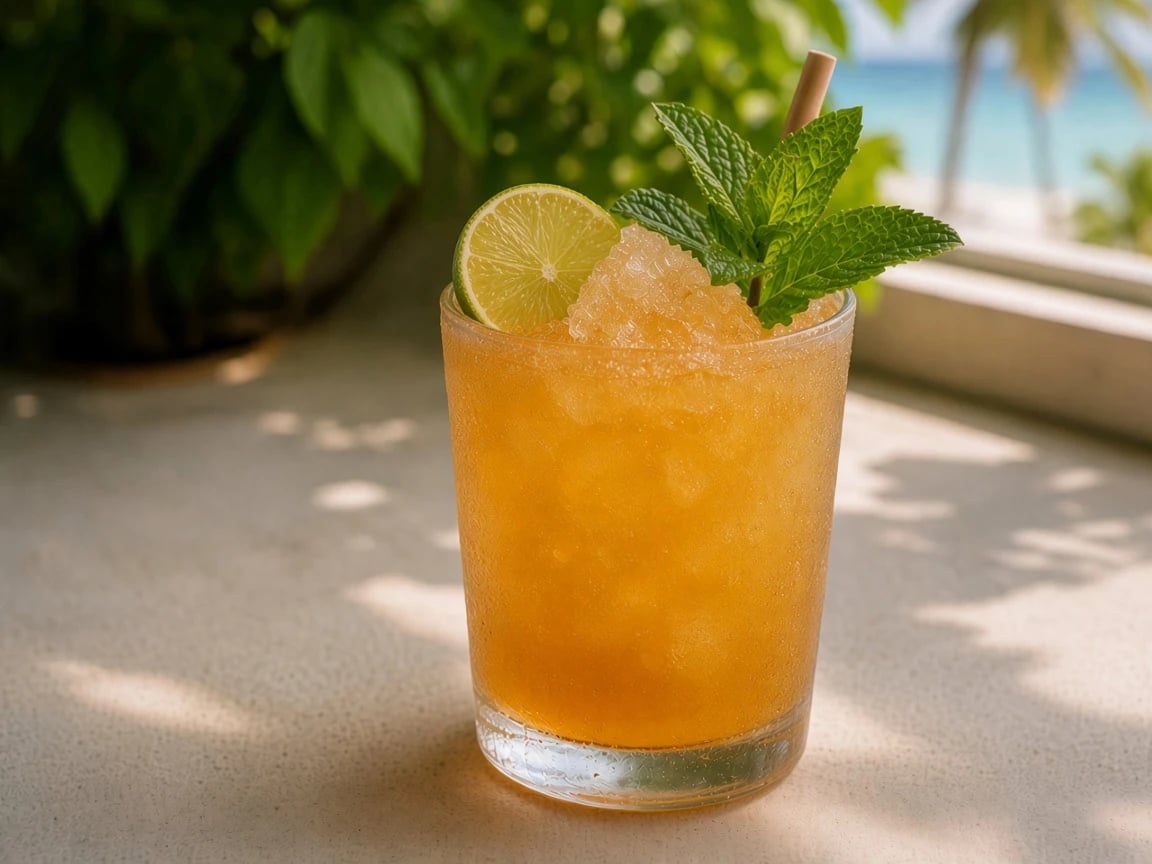
Rum
If your spec floats dark rum, pour it slowly over the back of a spoon onto packed ice so it sits as a lid, not a stain through the drink.